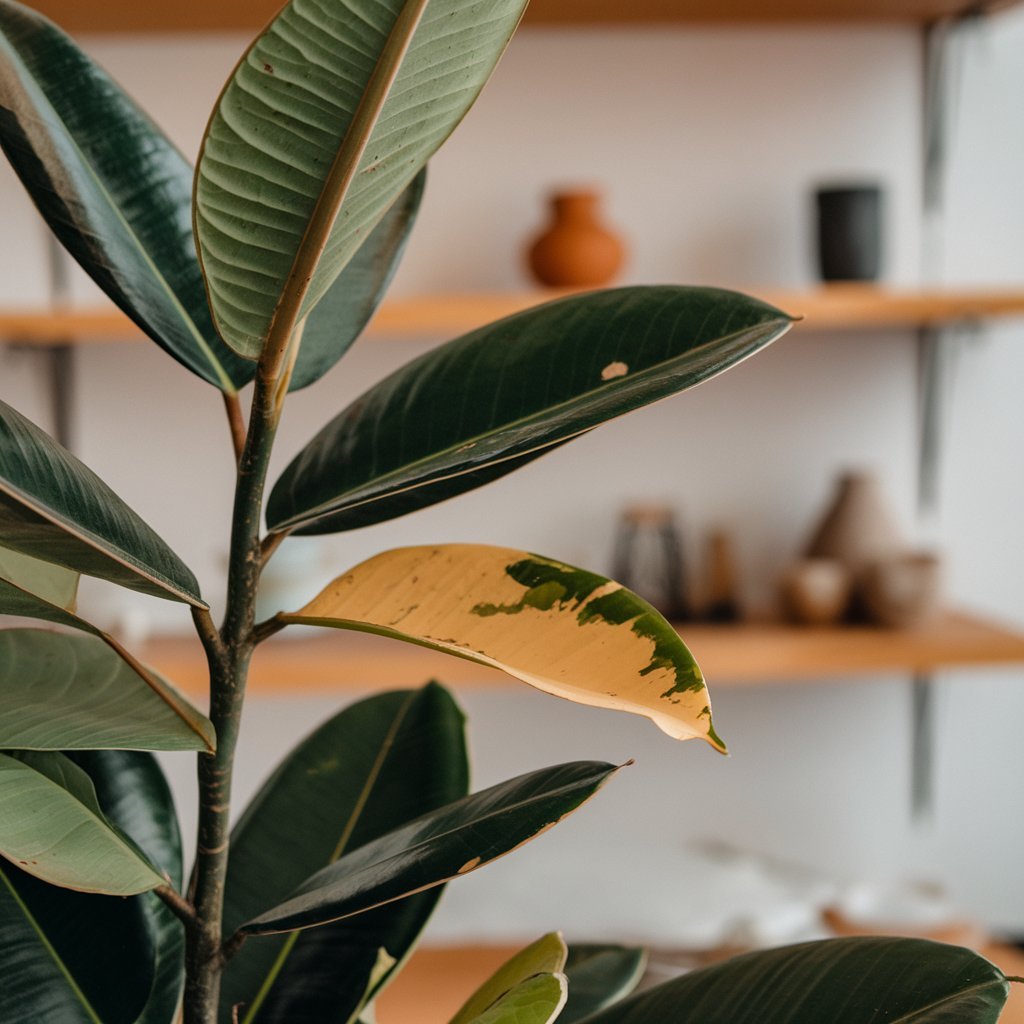
Welcome to the world of Rubber Plants, where lush, glossy leaves can make any space feel like a tropical oasis! But if you’ve noticed that your once-vibrant Rubber Plant is starting to show signs of yellowing leaves, don’t panic. Yellow leaves can be a common issue and usually signal that something in your plant’s environment needs adjusting. In this blog, we’ll dive into why those leaves might be turning yellow and how you can get your Rubber Plant back to its thriving self. From watering tips to pest control and everything in between, we’ve got you covered. Let’s get your Rubber Plant looking its best again!
Table of Contents
Common reasons of Yellow Leaves on Rubber Plants
Alright, let’s get to the bottom of why those lovely leaves might be turning yellow. There are a few usual suspects here, and understanding them can help you bring your Rubber Plant back to its former glory.
1. Watering Woes
First up is watering. Rubber Plants can be a bit finicky about their water needs. Too much water can lead to root rot, which often shows up as yellowing leaves. On the flip side, not enough water can cause the leaves to dry out and turn yellow as well. So, finding that perfect balance is key. Make sure your plant’s pot has good drainage and check the soil moisture regularly. A good rule of thumb is to let the top inch of soil dry out before giving your plant another drink.
2. Nutrient Deficiency
Next, let’s talk about nutrients. Rubber Plants are pretty straightforward, but they do need the right balance of nutrients to stay healthy. If the soil is lacking essential nutrients, like nitrogen, magnesium, or iron, your plant might show it through yellow leaves. Regular feeding with a balanced, water-soluble fertilizer can help keep those nutrients in check and your plant happy.
3. Lighting Conditions
Now, let’s shine a light on another issue: lighting. Rubber Plants love bright, indirect light, but they don’t do so well in the direct sunlight. Too much direct sun can scorch the leaves, while too little light can cause them to turn yellow. If your plant’s not getting the right amount of light, try moving it to a brighter spot but out of direct sunlight.
4. Pest Infestations
Have you checked for pests? Tiny invaders like spider mites or mealybugs can sometimes be the culprits behind yellowing leaves. These pests suck the sap from the plant, leading to stressed and discolored foliage. Regularly inspecting your plant and using natural pest control methods can help keep these little guys at bay.
5. Environmental Stress
Lastly, environmental factors like temperature and humidity play a big role in your plant’s health. Rubber Plants prefer a stable environment with consistent temperatures and moderate humidity. Extreme temperature changes or very dry air can stress the plant, causing its leaves to turn yellow. Try to keep your plant in a room with a stable temperature and consider using a humidifier if your home is particularly dry.
By keeping an eye on these common causes, you’ll be well on your way to diagnosing and fixing the yellowing issue. Ready to dive into how to pinpoint exactly what’s going on with your plant? Let’s get to it!
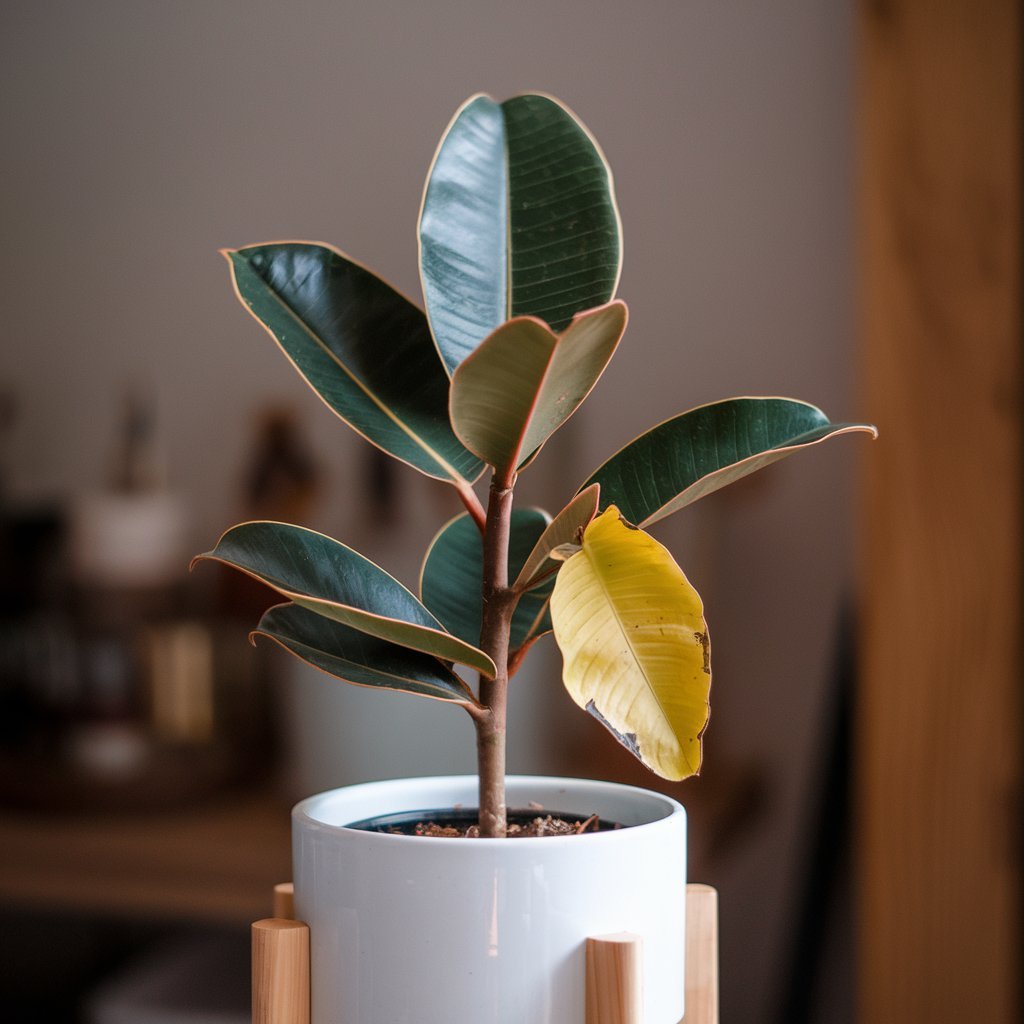
How to Diagnose the Problem
So, you’ve noticed those yellowing leaves, and you’re eager to get to the root of the problem. Diagnosing the issue can seem like a puzzle, but with a few simple steps, you’ll be well on your way to figuring it out.
1. Examine the Leaves and Overall Plant Health
First, examine your Rubber Plant carefully. Do the yellow leaves largely cover the lower portion of the plant, or are they dispersed throughout? Are there any more symptoms, such as leaf drop, wilting, or spots? There may be hints regarding the cause of the yellowing pattern. For example, yellowing of only the lower leaves could indicate overwatering. If the yellowing is more pervasive, there may be a problem with nutrients or lighting.
2. Check Soil Moisture and Composition
Let us discuss dirt next. Insert your finger into the ground about one inch deep. Is it feeling moist or dry? You may be dealing with overwatering if it’s wet. It is probably time to water if it is completely dry. Examine the soil itself as well. Does it drain nicely or is it compacted? Rubber plants require soil that drains properly, so if yours is excessively compacted, it may be aggravating the issue.
3. Review Recent Care Changes
Recall any recent modifications to the way you take care of your plant. Have you relocated it somewhere else? altered the timing of its watering? commenced using a novel fertilizer? Unexpected changes in care or surroundings can occasionally cause stress in your plant, which can result in yellowing leaves. It could be your latest tweaks if you’ve made any.
4. Look for Pests
Take a closer look at your plant’s leaves and stems. Are there any tiny, moving creatures or fuzzy spots? Pests like spider mites and mealybugs can be sneaky, so you might need to inspect closely or use a magnifying glass. If you spot any pests, you’ll need to tackle them with some targeted pest control.
5. Assess Environmental Conditions
Finally, check the environment where your Rubber Plant lives. Are there any drafts, sudden temperature changes, or very dry air? Rubber Plants like stable conditions, so any drastic changes can stress them out. If you think environmental factors might be an issue, try adjusting the temperature or humidity to create a more comfortable environment for your plant.
By going through these steps, you should be able to get a clearer picture of what’s causing those yellow leaves. Once you’ve identified the problem, you’ll be ready to take action and get your Rubber Plant back on track. Ready to dive into the solutions? Let’s fix those yellowing leaves!
Solutions and Remedies
Alright, you’ve figured out what might be causing the yellow leaves on your Rubber Plant. Now it’s time to roll up your sleeves and get to work on fixing the problem. Let’s break down how you can tackle each issue to bring your plant back to its vibrant self.
1. Adjusting Watering Practices
If you’ve discovered that watering might be the issue, let’s start with making some adjustments. For overwatering, make sure your pot has proper drainage and allow the soil to dry out between waterings. You might want to cut back on how often you water, and always check the soil moisture before adding more water. For underwatering, increase the frequency a bit, but be cautious not to overdo it.
2. Correcting Nutrient Imbalances
If nutrient deficiency is to blame, it’s time to give your Rubber Plant a nutrient boost. Start with a balanced, water-soluble fertilizer that’s specifically designed for houseplants. Follow the package instructions for the right amount and frequency of feeding. Typically, fertilizing every 4-6 weeks during the growing season should do the trick. If you suspect a specific nutrient deficiency, like magnesium or iron, look for fertilizers that address that particular need.
3. Improving Lighting Conditions
Got lighting issues? If your Rubber Plant isn’t getting enough light, try moving it to a brighter spot, but remember to keep it out of direct sunlight to avoid leaf scorch. If it’s getting too much light, you might need to move it to a spot with indirect light. A good spot is near a window with filtered light or a few feet away from a sunny window.
4. Dealing with Pests
Pest problem? First, gently wipe down the leaves with a damp cloth to remove any visible pests. If you spot more stubborn invaders, consider using insecticidal soap or neem oil, which are great for treating common houseplant pests. Be sure to follow the instructions on the product and apply it to all affected areas. Keeping your plant clean and inspecting it regularly can help prevent future infestations.
5. Managing Environmental Factors
For environmental stress, start by stabilizing the temperature and humidity around your Rubber Plant. Keep it away from drafts, heaters, or air conditioners, which can cause temperature swings. If the air is too dry, consider using a humidifier or placing a water tray near the plant to increase humidity. Rubber Plants prefer a humidity level of around 40-60%, so try to keep it within that range.
By addressing these issues with the right solutions, you’ll help your Rubber Plant bounce back and thrive. Remember, a bit of patience and consistent care will go a long way. Stay attentive, and your plant will reward you with lush, green leaves in no time. Ready for some tips on how to keep your plant in top shape? Let’s dive into prevention next!
Prevention Tips
Now that we’ve tackled the solutions, let’s talk about how to keep your Rubber Plant from getting yellow leaves in the future. A bit of proactive care can go a long way in ensuring your plant stays happy and healthy. Here’s how you can set up your Rubber Plant for success:
1. Establish a Consistent Care Routine
Creating a regular care routine is your best defense against common issues. Stick to a consistent watering schedule and adjust it based on the plant’s needs and the season. During the growing season (spring and summer), your plant might need more water, while in winter, it usually requires less.
2. Regularly Check for Pests
Pest prevention is key. Make it a habit to inspect your Rubber Plant every week or so for any signs of pests. Look at the undersides of leaves and the stems. If you catch pests early, they’re much easier to manage. Regular cleaning of the leaves with a damp cloth can also help keep pests at bay and remove dust that can block sunlight.
3. Optimize Lighting Conditions
Make sure your Rubber Plant is in its ideal spot with bright, indirect light. If you move it to a new location, gradually adjust it to the new light conditions to avoid shock. If you notice any changes in leaf color or growth, it might be time to reassess its lighting situation.
4. Monitor Environmental Factors
Keep an eye on the temperature and humidity levels around your plant. Rubber Plants prefer a stable environment, so avoid placing it near drafts, heaters, or air conditioning vents. If your home tends to be dry, especially in winter, a humidifier can be a great investment. Regularly check that the plant’s environment stays within the ideal range for temperature and humidity.
5. Feed Regularly
Don’t forget about feeding! A balanced, water-soluble fertilizer can help keep your Rubber Plant well-nourished. Follow the recommended feeding schedule on the fertilizer package and avoid over-fertilizing, as this can also cause problems. A good feeding routine supports healthy growth and vibrant foliage.
By staying on top of these care practices, you’ll not only prevent yellow leaves but also help your Rubber Plant thrive. A bit of attention and regular maintenance can make all the difference in keeping your plant looking lush and healthy. Got any more questions about Rubber Plant care? Feel free to drop them in the comments or reach out—happy planting!
| You Can Also Read Our Other Blogs on “Rubber Plant” |
| How to Propagate Rubber Plant: Stem cutting & Air layering |
| Baby Rubber Plant Care: Easy Guide |
Conclusion
There you have it—your complete guide to tackling and preventing yellow leaves on your Rubber Plant! We’ve covered everything from diagnosing common issues to finding practical solutions and tips for ongoing care.
Recall that a small amount of focus can make a big difference. You can guarantee your Rubber Plant remains colorful and lush by monitoring watering procedures, lighting, and general plant health. Maintaining the happiness and health of your plant also requires routine pest inspections and environmental element modifications.
If you’ve followed these steps and still have questions or run into issues, don’t hesitate to reach out. Plants can be a bit like people—they each have their quirks and preferences, so finding what works best for yours might take some time. But with patience and care, you’ll soon have a thriving Rubber Plant that’s the pride of your plant collection.
Thanks for joining me on this plant care journey! If you’ve found this guide helpful, feel free to share it with fellow plant enthusiasts or leave a comment with your experiences. Here’s to healthy, happy plants and beautiful green leaves!

